
Table of Contents
- Why Proper Tool Packing Matters
- What You’ll Need Before Packing Tools
- Best Ways to Pack Hand Tools vs Power Tools
- Tool Storage Ideas Australia: Organising Your Toolbox
- Securing Tools in Vehicle Australia: Transport Best Practices
- Packing Tools for Moving Australia: Step-by-Step Process
- Rust Prevention and Tool Maintenance During Storage
- Dangerous Goods Transport Australia: Tools of Trade Regulations
Last Updated: July 28, 2026
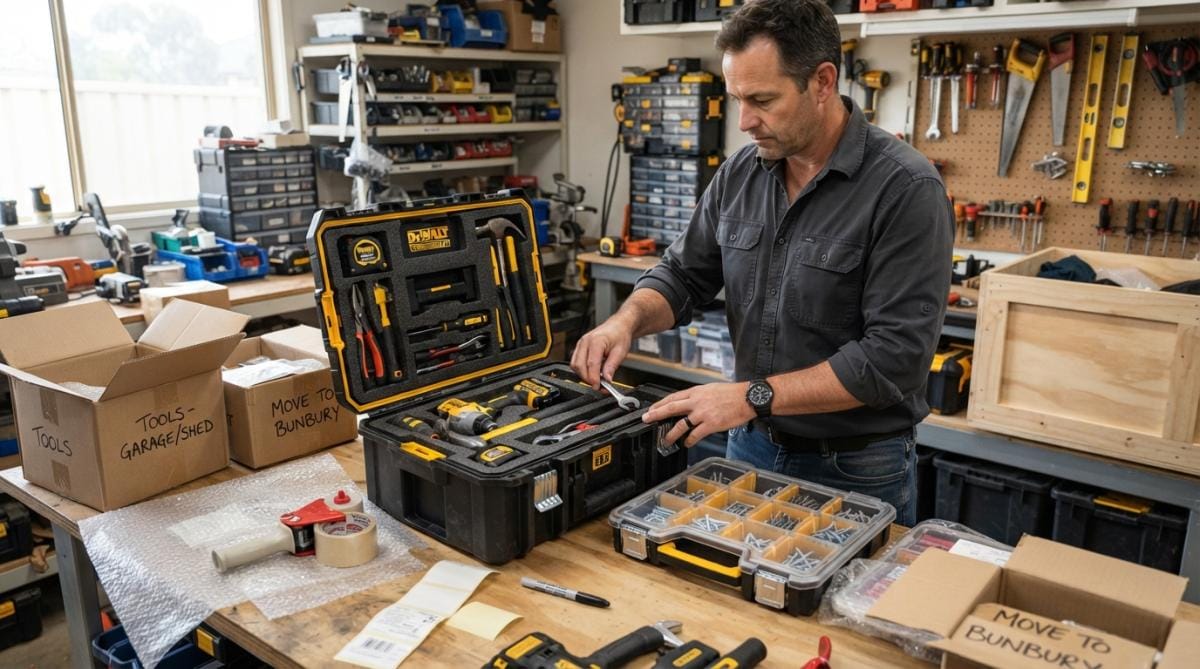
When you’re preparing to move or store tools, getting the packing right makes the difference between tools arriving in perfect condition and discovering rust, damage, or missing items months later. This guide from Urban Self Storage covers practical strategies that tradespeople, mechanics, and serious DIYers use to transport and store tools safely, whether you’re moving across Western Australia or securing equipment long-term.
Why Proper Tool Packing Matters
Protecting tools during a move or storage isn’t optional, it’s the foundation of maintaining your equipment’s value and functionality. Careless packing risks corrosion on metal surfaces, broken handles, dulled blades, and damaged power tool motors. A single water leak in a storage unit can cost thousands in rust damage to a collection that took years to build.
Proper packing also saves time and frustration later. When you need a specific chisel or wrench, you want to find it immediately, not excavate through a chaotic pile. Tools with proper documentation and condition records hold their resale value, and insurance claims are far easier to process when you have a detailed inventory with photos and valuations.
Take photos [of your tool](/self-storage-bunbury/picton/)s before packing, especially high-value items like power tools and specialty equipment. These images become essential proof for insurance claims and help you remember what you actually own.
What You’ll Need Before Packing Tools
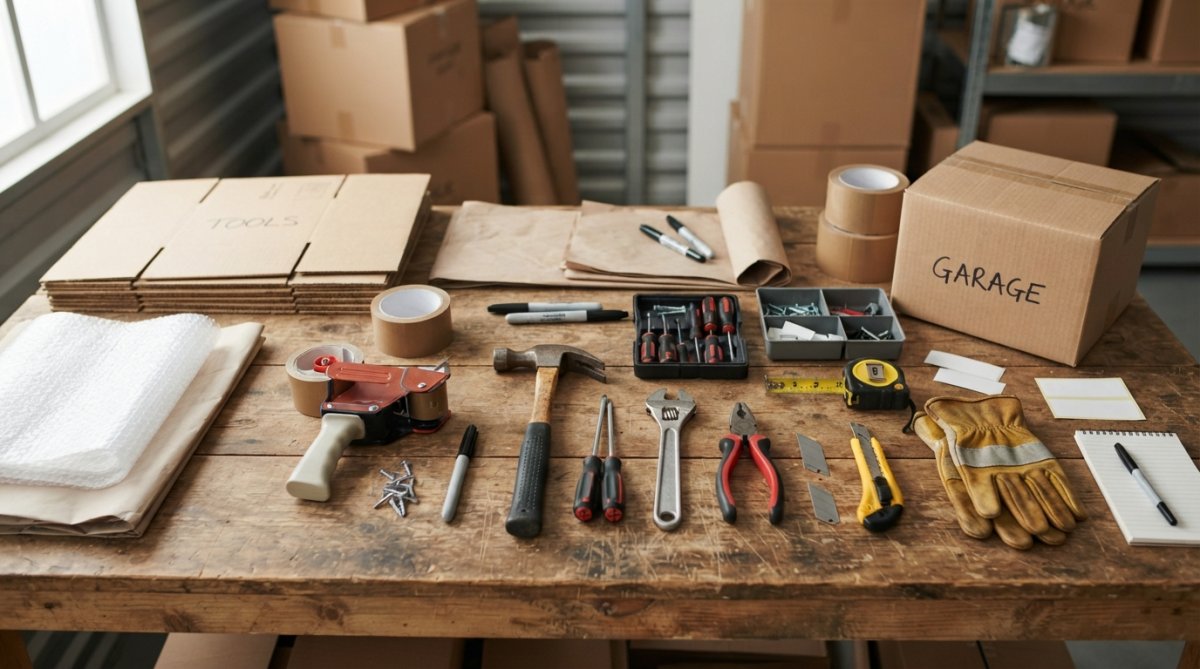
Gathering the right materials before you start packing prevents mid-project scrambling and ensures consistent protection across your entire collection.
Packing materials and protective padding
Bubble wrap remains the gold standard for protecting delicate surfaces and sharp edges. Packing foam, both sheets and loose-fill varieties, absorbs shock and protects against impact damage. Moving blankets wrap larger items like power tools and toolboxes, and line the bottom and sides of boxes to cushion contents. Packing tape secures everything firmly so items don’t shift during movement.
For long-term storage, silica gel packets and desiccants control moisture and prevent rust and corrosion. Small bins and tool organisers keep hand tools grouped logically, preventing tools from clanging together and damaging each other. Heavy-duty boxes designed for tool transport have reinforced bottoms that won’t collapse under weight.
Tool organisation systems
Before you pack a single tool, decide on an organisation strategy. The Milwaukee PACKOUT Modular Storage System and DeWalt ToughSystem 2.0 both offer interconnecting boxes that stack securely and protect tools during transport. For hand tools, a Trojan Black Round Mouth Tool Bag or Carhartt Legacy Tool Bag provides portable organisation with multiple pockets and compartments.
For workshop storage, Kincrome Evolution Tool Chests and Sidchrome Tool Storage offer heavy-duty steel construction with multiple drawers and EVA foam liners. The key decision: are you packing for transport (bags and modular systems work best) or long-term storage (fixed chests and cabinets provide superior protection)?
Best Ways to Pack Hand Tools vs Power Tools
Hand tools and power tools require different protection strategies because they present different risks during packing and storage.
Protecting sharp edges and blades
Chisels, saw blades, garden shears, and other sharp tools must be wrapped individually in bubble wrap to prevent cuts and protect blade edges from dulling. For saw blades and circular saw attachments, use cardboard blade guards or create custom guards from foam sheet.
Kitchen-style knife rolls work excellently for storing chisels and similar bladed tools, keeping each tool separate. For garden shears and pruning tools, apply a light coat of oil before packing to prevent rust, then wrap the blades separately from the handles.
Managing weight distribution and heavy tools
Never stack heavy items on top of delicate tools, the weight will crush handles, crack plastic casings, and damage motors. In moving trucks and storage units, place heavier items on the bottom and distribute weight evenly.
For boxes containing heavy hand tools, reinforce the bottom with packing tape and double-box if necessary. When packing power tools, remove batteries and pack them separately in a cool, dry location. Batteries generate heat during storage, and grouping them together increases fire risk.
Never stack boxes of heavy tools more than 1.5 metres high, even in a storage unit. Distribute weight across multiple columns instead.
Tool Storage Ideas Australia: Organising Your Toolbox
Once tools are packed, organisation determines whether you can actually find and use them.
Selecting the right packing materials
For long-term storage in an Australian climate, moisture control matters more than in temperate regions. Choose packing materials that allow some air circulation while protecting from dust. Avoid plastic bags that trap moisture directly against tools; instead, use breathable materials like canvas tool bags or cloth wrapping.
For storage units, consider ventilated shelving rather than solid shelves. Airflow prevents moisture accumulation on tool surfaces. Climate-controlled storage units significantly reduce the need for aggressive moisture management, but proper packing remains essential.
Cardboard boxes deteriorate over months in humid conditions. Plastic bins with tight-fitting lids provide better moisture protection for longer-term storage.
Labeling and inventory management
A detailed inventory list transforms a storage unit from a mystery box into an accessible resource. Document every tool, including quantity, condition, and approximate value. Label all boxes and containers clearly using a permanent marker, or create a numbering system with a spreadsheet listing what’s in each numbered box.
Photograph the contents of each box before sealing it and upload these photos to a cloud storage service with your inventory spreadsheet. Digital inventory systems like Airtable or Google Sheets let you search, sort, and update inventory from anywhere.
| Organisation Method | Best For | Time to Find Item | Maintenance Effort |
|---|---|---|---|
| Numbered boxes + spreadsheet | Long-term storage | 5-10 minutes | Low |
| Labeled boxes only | Short-term storage | 10-20 minutes | Very low |
| Modular storage system | Active use/transport | 2-5 minutes | Medium |
| Tool chest with drawers | Workshop storage | 1-3 minutes | Medium |
| Inventory software + photos | High-value collections | 2-5 minutes | High |
Securing Tools in Vehicle Australia: Transport Best Practices
Moving tools across Australia requires securing them properly so they don’t shift, fall, or become damaged during transit.
Storing tools in a moving truck safely
Tools should never roll freely in a moving truck bed. Secure all boxes and containers using tie-down straps or rope. Place the heaviest items (toolboxes, compressors, power tool cases) against the cab of the truck, distributing weight evenly across the truck bed.
Use moving blankets to line the truck bed and prevent tools from sliding. Cover the entire load with a blanket or tarp to protect from dust and weather. Check that all securing straps are tight before you depart and verify that nothing has shifted every 2-3 hours during long-distance moves.
Cord management and preventing tool shift
Coil each power tool cord neatly and secure it with a velcro cable tie or elastic band. Group cords by tool so you can find matching cords at your destination.
Prevent tool shift by filling gaps between boxes with crushed paper or foam packing material. Tools shouldn’t move at all during transport. For power tools with protruding parts, wrap them individually in bubble wrap before placing them in boxes.
Packing Tools for Moving Australia: Step-by-Step Process
Following a systematic packing process ensures nothing gets overlooked and everything receives appropriate protection.
Preparing tools for transport
Start by cleaning all tools before packing. Remove sawdust, dirt, and debris from power tools and wipe down metal tools to remove moisture. Test power tools briefly to confirm they work before packing.
Gather all original cases, boxes, and packaging for power tools. Check that all batteries are removed from power tools and stored separately. Confirm that all loose attachments are stored together with their parent tool.
Disassembly and protective padding
Remove drill chucks from drills and pack them separately. Remove saw blades from saws and pack them in cardboard blade guards. For tools with adjustable parts, set them to their most compact position before packing.
Wrap each tool individually in bubble wrap or packing foam. Use packing foam sheets to create protective layers within boxes: place a foam sheet on the bottom, then a layer of tools, then another foam sheet, then more tools. For tools with handles, wrap the handle separately from the head.
The single most important step in packing tools is individual wrapping. Spending an extra hour wrapping each tool separately prevents 90% of transport damage and makes unpacking simpler and safer.
Rust Prevention and Tool Maintenance During Storage
Rust is the primary enemy of stored tools in Australia’s humid climate. Prevention during the packing phase determines whether tools emerge pristine or corroded after months in storage.
Moisture control with silica gel and desiccants
Silica gel packets actively absorb moisture from the air around tools. Place packets inside sealed containers with tools and replace them monthly if tools are stored long-term. For large storage areas, use larger desiccant containers or dehumidifiers.
Avoid storing tools in airtight plastic bags directly against tools. Instead, place desiccants in the bag with tools, creating a moisture-controlled microenvironment. Check desiccants monthly, when silica gel becomes saturated, it stops absorbing moisture and can actually release moisture back into the storage space.
Long-term storage protection strategies
Apply a light coat of machine oil or WD-40 to metal tool surfaces before extended storage. This protective layer prevents moisture from contacting bare metal. Store tools in a location with stable temperature and humidity to prevent condensation.
Inspect tools every 3-6 months if stored long-term. Open boxes, check for signs of corrosion or moisture, replace desiccants, and confirm that everything remains in good condition. For tools with wooden handles, maintain the wood finish to prevent moisture penetration.
Dangerous Goods Transport Australia: Tools of Trade Regulations
Certain tools and equipment fall under Australian dangerous goods transport regulations. Power tools with lithium batteries are classified as dangerous goods when transported by air and require special handling and documentation.
Compressed air tools and compressors contain pressurised components. Transport regulations require that compressors be empty before transport and properly vented. Never transport a pressurised compressor in a vehicle.
Flammable liquids used in tool maintenance are restricted and cannot be transported in a private vehicle in large quantities. For tools of trade being transported for work purposes, keep documentation showing that tools are your business equipment.
Most hand tools and standard power tools don’t trigger dangerous goods regulations. However, if your tool collection includes specialised equipment, compressors, or battery-powered tools, verify current transport rules with the relevant Australian authority before moving.
Packing tools properly transforms what could be a stressful move into a straightforward process where everything arrives in perfect condition. The investment in quality packing materials, thoughtful organisation, and moisture control pays dividends the moment you need to use your tools again. Whether you’re moving across Perth or storing equipment long-term, the strategies covered here protect your investment and keep your tools ready for work. For secure, flexible storage of your tool collection in Western Australia, Urban Self Storage offers climate-controlled units with 24/7 CCTV surveillance and flexible rental terms, perfect for keeping your tools safe while you focus on your projects. Book online now and get your tools stored securely.
Frequently Asked Questions
What are the best packing materials for protecting tools during a move?
Bubble wrap, moving blankets, and packing foam are essential for protecting tools. Wrap sharp edges and blades with bubble wrap or cloth to prevent damage. Use moving blankets for larger power tools and heavy-duty boxes for weight distribution. Silica gel packets help control moisture, which is crucial for rust prevention during storage. Crushed paper and foam inserts provide cushioning inside boxes to prevent tools from shifting during transport.
How do I prevent rust on tools during long-term storage in Australia?
Moisture is the primary cause of rust and corrosion. Place silica gel or desiccant packets inside storage containers to absorb humidity. Ensure your storage unit has proper ventilation and climate control if possible. Lightly coat metal tools with a protective oil before packing. Store tools in a dry environment away from direct moisture. If using a self-storage facility, choose one with 24/7 CCTV and climate-controlled units to monitor conditions and prevent rust development over time.
What's the safest way to pack tools for moving Australia without damaging them?
Start by preparing tools, clean them, disassemble removable parts, and secure loose attachments. Wrap sharp edges like chisel blades and saw blades with protective padding. Use small bins and heavy-duty boxes for organisation, distributing weight evenly. Place heavier tools at the bottom of boxes with lighter items on top. Label all boxes clearly with contents and fragility warnings. Secure tools in your moving truck using proper weight distribution techniques and prevent protruding parts from shifting during transport.
How do I create an inventory system for packed tools?
Create a detailed inventory list before packing, noting each tool, its condition, and estimated value. Use consistent labeling on all boxes, mark contents, weight, and fragility level. Consider photographing valuable tools for insurance purposes. Use a spreadsheet or mobile app to track which box contains which items. This system is especially important when storing tools long-term in a self-storage unit, as it helps you locate items quickly and provides documentation for insurance and valuation purposes.
This article was written using GrandRanker